Basic
The Basic panel is where every develop decision starts. It covers the entire photographic chain from base removal and exposure through tone shaping, white balance, and saturation. This page walks each control from top to bottom — what it does for the photo and what engine parameter it tunes.
Inverse
The Inverse button flips the current frame between negative (Cineon inversion) and positive (passthrough) mode. In positive mode the scan is display-encoded without any inversion, with only exposure and white balance applied. Use it for slide film or print originals where you want to skip the inversion entirely and work on an already-positive source. The toggle is per-image, undoable, and takes effect immediately.
Exposure
Exposure is the primary brightness control and the one to reach for first. It adjusts the exposure parameter in EV stops (slider range −5 to +5). Internally the EV value drives print_exposure = 2^EV, which the engine applies as a gain in scene-linear light (the Adobe model L_out = f(L_in · 2^EV)), not as a scale on film density. Brightening lifts tones with a smooth highlight rolloff; darkening pulls them down. The gain is in linear light, so exposure moves brightness without the contrast change the old density-multiply produced — and highlights roll off the shoulder instead of hard-clipping.
Auto-exposure runs once when a frame is first developed, picking a value that places key tones at a sensible brightness, similar to how auto-WB picks a neutral balance. You can adjust freely from there; the starting value is folded into the baseline, not a separate undo step.
The Faithful tone path (the sole active path) uses a photographic exposure sensitivity of FAITHFUL_EXPO_K = 1.0, so one EV step moves brightness by roughly one photographic stop. This is intentionally different from the legacy Filmic path's weaker EXPO_K = 0.14, which allowed the slider to feel unresponsive on bright content.
Under the hood
Exposure mechanics: the slider records exposure in EV. The scanned negative is already a log-inverted positive (d = log10(base/scan)), so the engine reconstructs a black-anchored linear scene L = 10^d − 1, applies the exposure gain in linear light L' = L · 2^EV, returns to density d' = log10(L' + 1), and feeds that to the Faithful gamma-shoulder curve (fixed scale FAITHFUL_SCALE = 1/0.700, calibrated to the C400 digital-SDR reference). EV 0 is the identity, so the EV-0 look is unchanged; the gamma-shoulder supplies the highlight rolloff so pushing exposure rolls off instead of hard-clipping.
Highlight-preservation: the gamma-shoulder curve's asymptotic shoulder compresses near-white density smoothly. Lowering exposure pulls overexposed tones off the shoulder and back into the body of the curve, recovering separation that was lost — provided the negative was not so dense that no detail existed. A saturated specular (density well past the shoulder) stays near white: the slider can darken midtones without dragging white down.
White point vs. exposure: the Faithful path uses a fixed density scale (FAITHFUL_SCALE) rather than the per-frame d_max — so the white point does not move with exposure. Brightness is the slider's job; the white point is set automatically at develop-time analysis (there is no longer a manual white-point picker — the Faithful curve does not use a per-frame d_max). See Density & log space and The tone curve for the underlying model.
Tone — Brightness, Contrast, Highlights, Shadows, Whites, Blacks
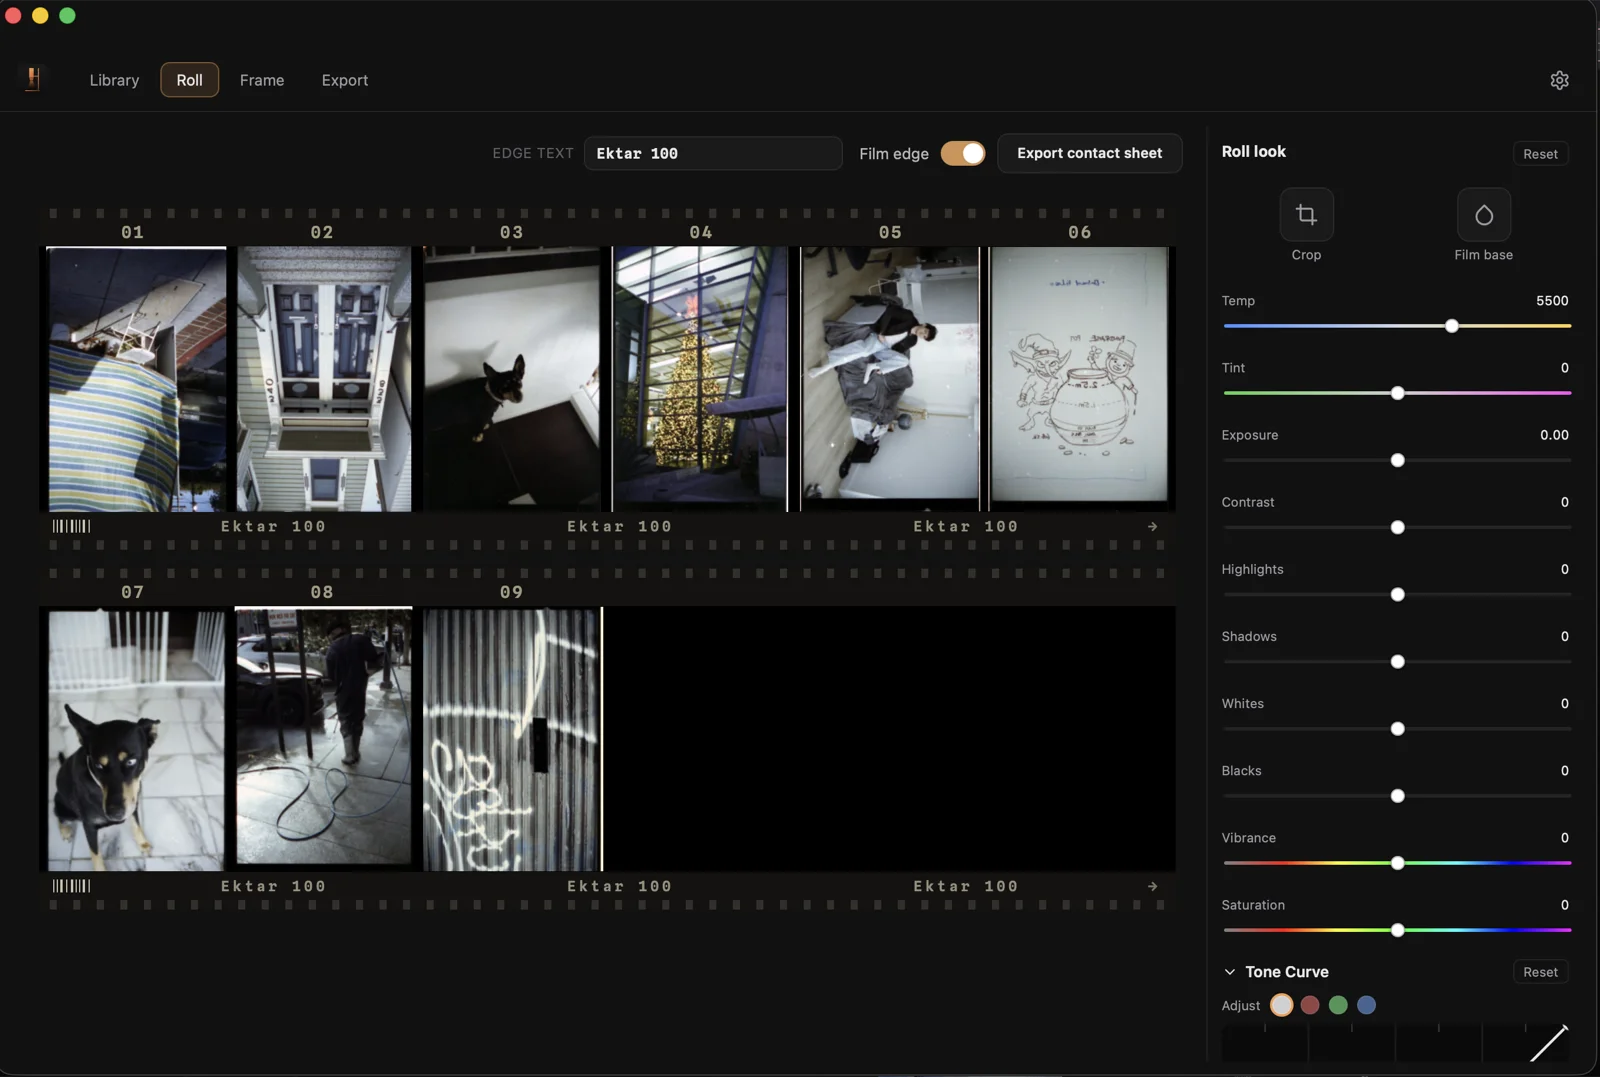
Below Exposure sits a bank of six creative tone controls, all working in display space on the already-inverted positive. Each maps to a field in InvertParams / FinishParams and operates over a range of −100 to +100 (0 = identity).
- Brightness — a log-curve gain applied before the tone curve. Equal slider steps produce equal density steps rather than equal linear increments, so the control reads as a smooth density lift or drop. The field is
brightness; the gain is 10^(brightness · BRIGHTNESS_DENSITY_RANGE) whereBRIGHTNESS_DENSITY_RANGE = 0.5. - Contrast — a linear S-gain pivoted at mid-gray (0.5). Positive values widen the spread between darks and lights; negative values compress it. Field:
contrast. - Highlights — a shelf weight that acts on the upper half of the tonal range (above 0.5), peaking at white. Pulling highlights down recovers near-clipped tones; pushing them up brightens the shoulder. Field:
highlights. - Shadows — a shelf weight acting on the lower half (below 0.5), peaking at black. Lifting shadows opens up dark tones without touching the mids. Field:
shadows. - Whites — acts at the extreme bright end (power-law weight strongest near 1.0). Pushing Whites up brightens specular highlights; pulling it down clips them softly back toward white. Field:
whites. - Blacks — acts at the extreme dark end (power-law weight strongest near 0). Lifting Blacks raises the shadow floor, adding a film-base lift; lowering it deepens shadows toward pure black. Field:
blacks.
The six controls compose in order: Brightness gain → tone curve (Whites/Blacks endpoints, then Highlights/Shadows regions, then Contrast S-gain). They are applied in display space after the inversion core, so they are the same whether you are working on a negative or a positive passthrough frame. For further curve editing — per-channel point curves and region parametric sliders — see Frame — Advanced Panels.
Under the hood
Brightness density curve: gain = 10^(b · 0.5) where b is the Brightness slider value pre-scaled from its −100..100 UI range to −1..1. At the extremes (b = ±1) the gain is approximately ×3.16 / ×0.32 (~±1.66 stops). The GPU preview and CPU export use the same constant BRIGHTNESS_DENSITY_RANGE = 0.5 so they match identically.
Tone curve order (finish.rs):
- Whites endpoint: v += whites · 0.20 · v³ — strong near 1, vanishes at 0.
- Blacks endpoint: v += blacks · 0.20 · (1−v)³ — strong near 0, vanishes at 1.
- Highlights region: v += highlights · 0.18 · smoothstep(0.5, 1.0, v) — shelf that peaks at white.
- Shadows region: v += shadows · 0.18 · (1 − smoothstep(0.0, 0.5, v)) — shelf that peaks at black.
- Contrast S-gain: v = 0.5 + (v − 0.5) · (1 + contrast)
The gain cap of 0.18 on Highlights and Shadows ensures the curve remains monotonic even when opposing sliders are maxed — no tonal inversion artifacts.
White Balance — Temp, Tint, Auto, Gray-point picker
White balance in the Frame tab is applied through the Temp (color temperature, 2800–10000 K) and Tint (green/magenta axis, −100 to +100) sliders, which together control per-channel WB gains. The sliders show the actual white balance: Auto WB and the gray-point picker set Temp and Tint to the estimated values, so the numbers are stable and a given Temp means the same thing every time.
Three one-click helpers sit above the sliders:
- Auto WB — re-runs the gray-world estimate for the current frame and base, setting Temp and Tint to the detected neutral. Use this after changing the film-edge color to re-balance.
- Gray-point picker (crosshair icon) — click a patch in the viewport that should be neutral in the final photo. The engine measures that pixel's value and computes the WB gains needed to neutralize it, then seeds Temp and Tint from those gains. The picker sets Temp and Tint to the absolute values that make the picked pixel neutral.
Under the hood
Gain mode: the per-channel WB gain is applied as a post-curve multiply on the positive output. Pure black (output = 0) is unaffected: 0 × gain = 0, so shadows stay neutral.
Temp range: the slider spans 3793–10000 K on a reciprocal track (so neutral 5500 K sits at the visual center) with 0.5 K steps, showing the absolute color temperature.
Tint range: −100 to +100 in 0.1-unit steps. Fine stepping avoids the banding a 1-unit step can produce across a gradual green/magenta sweep.
Texture
Texture adds or removes fine-detail contrast using an unsharp mask. Positive values sharpen (enhance local contrast at fine scales); negative values soften (blend toward a low-frequency version of the image). The control is resolution-independent: the blur radius scales with the shorter image dimension so the effect is perceptually identical between a proxy preview and a full-resolution export.
Important: Texture is a fine-detail spatial effect and cannot be accurately previewed at Fit zoom — the proxy resolution has fewer pixels than the detail being enhanced. Click the 100% button next to the Texture slider (or use the keyboard shortcut) to jump to 1:1 zoom so you are seeing the real result. Field: texture, range −100 to +100.
Under the hood
Unsharp mask formula: out = v + k · (v − blur(v)) where blur is a separable Gaussian. The gain k is asymmetric: at texture = +1, k = USM_POS_GAIN = 2.5; at texture = −1, k = −USM_NEG_GAIN = −1.0, which collapses to exactly the blurred image (clearly soft). Intermediate values interpolate linearly.
Resolution independence: sigma is TEXTURE_SIGMA_FRAC = 0.0025 of the image's shorter dimension, giving approximately 6 px sigma on a 2560-pixel proxy. The radius is capped at TEXTURE_MAX_RADIUS = 64 pixels so very large exports stay bounded. GPU and CPU paths derive the same sigma from their respective viewport size, so preview and export match.
Presence — Vibrance and Saturation
Vibrance and Saturation both boost or reduce color richness, but they work differently:
- Vibrance targets muted, low-chroma areas first. Already-vivid colors receive a smaller boost, so pushing Vibrance enriches flat skies and fabrics without over-saturating the reds and yellows that are already punchy. Field:
vibrance. - Saturation applies a uniform chroma boost across all tones and hues. Use it for a more even overall enrichment. Field:
saturation.
Both operate in OKLab color space, which is perceptually uniform — equal numerical steps look equal across all hues. Near-neutral tones (grays) and skin hues are protected with a reduced boost, and any out-of-gamut result is compressed along the hue line rather than clipping per channel. Range: −100 to +100 for both. See Color & white balance for the perceptual rationale.
Under the hood
OKLab chroma scaling: the pixel is converted to OKLab (L, a, b), where chroma is C = √(a² + b²). The combined gain is gain = saturation + vibrance · (1 − C/SAT_C_REF) where SAT_C_REF = 0.20 is the reference chroma treated as "fully saturated" for the vibrance weight — low-chroma pixels get the full vibrance contribution, high-chroma pixels get progressively less.
Neutral and skin protection: the gain is further multiplied by a neutral ramp (smoothstep(0, SAT_C_NEUTRAL, C) with SAT_C_NEUTRAL = 0.025) that brings the boost to zero for near-neutral tones, and by a skin-hue damp (SKIN_DAMP = 0.5 peak reduction inside the skin/orange hue window). Luma (L) is held fixed; only the a and b axes are scaled.
Gamut compression: after chroma scaling the resulting OKLab value is converted back to linear RGB. If any channel exceeds [0,1], the result is pulled back along the straight line from the achromatic point (L, 0, 0) to the boosted color until all channels are in gamut — preserving hue and lightness while avoiding per-channel clipping.
HDR preview
The HDR toggle (top-right of the Basic panel header, field hdr: boolean) enables an HDR preview rendition for the current frame. On the Faithful path — OpenEnlarge's sole active tone path — HDR mode raises the tone curve's output ceiling to HDR_HEADROOM = 2.5: the curve's shoulder is fitted toward this raised ceiling instead of SDR white (1.0), so specular highlights and light sources can exceed SDR white on displays that support EDR/HDR10. The look layer is bypassed in HDR mode to preserve those headroom values. The export pipeline stays SDR by default; HDR is a preview-only toggle. (HDR_KNEE belongs to the dormant Filmic path and does not apply here.)
Reset
The Reset button (top-right of the Basic panel header) returns all Basic controls to their defaults: Exposure, Brightness, Contrast, Highlights, Shadows, Whites, Blacks, Texture, Vibrance, Saturation are all set to 0. Temp and Tint are re-seeded from the as-shot auto-WB estimate rather than being set to a hard default, so the color balance lands at the image's detected neutral rather than an arbitrary number. Crop, film-edge color, and any Curve, Color Grading, or Color Mixer settings are left untouched.